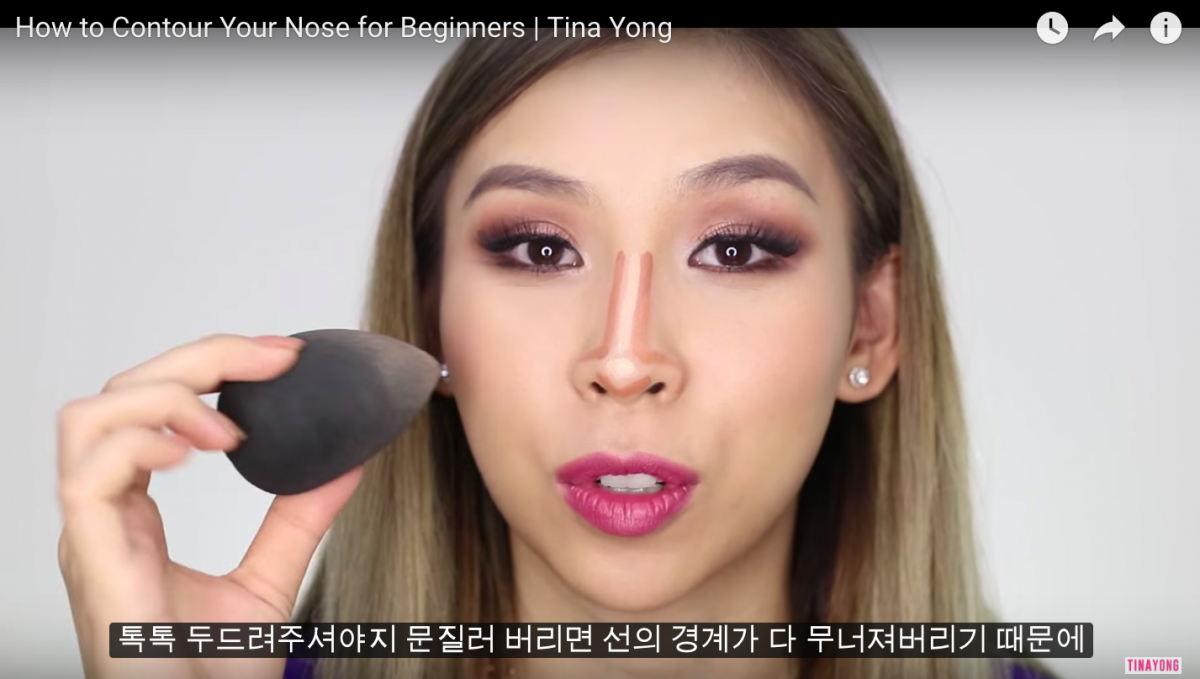
A 1-Minute Face Contouring For Beginner
All you need is a dark shade of brown, and a lighter than your skin shade concealer, eyeshadow, cream or anything. Contouring is really easy. You can try it now!
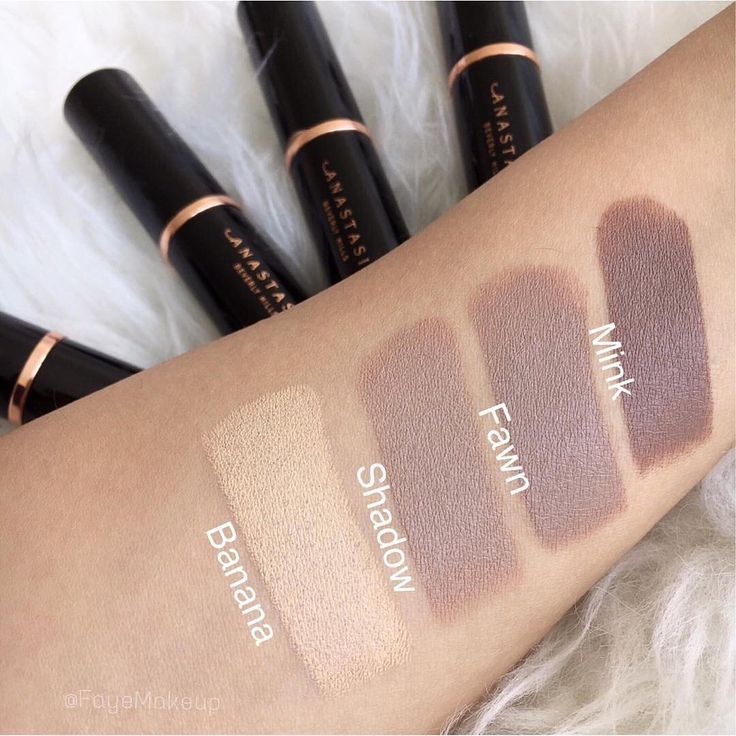 Photo from pinterest
The easiest demo is this picture below. Imitate this one-for-all contour hack. This will be your goal for now. Contouring the nose is a quick makeup before you leave the house. It has the ability to make your features pop!
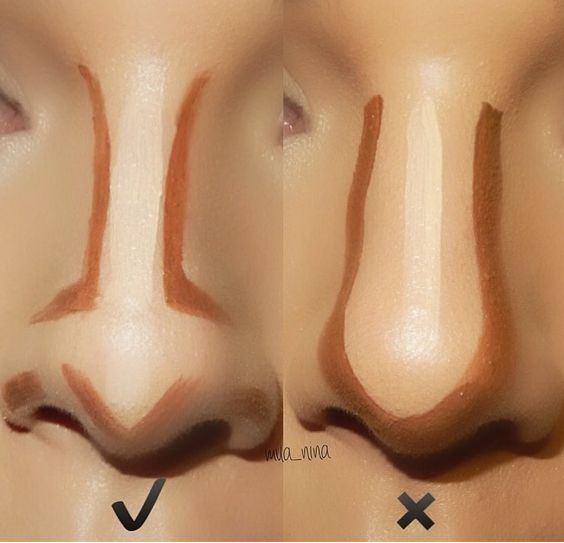 Photo from pinterest
It should take you at most 3 minutes. Try not to erase and redo because the residue makes a subtle difference. If you have to, just draw it over and contour again.
What should I use?
1. Contour Stick
I strongly suggest you to start with a contour stick because it is easier to manage. This is designed for beginning and for super quick application.
NYX Professional Makeup Wonder Stick. It is available at all NYX stores and Sephora at $22.

3CE Duo Contour Stick. It is available in Sephora stores at $37.
 Photo from Sephora SG
Personally, I choose the darkest because I want a drastic contour even though I am pretty fair. Alternatively, you can approach a staff and ask them for a recommendation to choose the perfect shade.
2. Brown & White Eyeshadow
Yes, it works very well and it's cheap. Any brand of eyeshadow works as long as the pigmentation (or colour intensity) is strong and doesn't come out colourless. You need a strong colour for contouring to work.
 Photo from lookfantastic
Use either your finger or a brush. Comparing to the contouring stick, eyeshadow is harder to manage and the colour isn't as strong and defined as the stick. It still works so go ahead and try it. You will see the most significant sculpting near your eyebrows.
 Photo from http://coffeeplss.blogspot.com/
How to use?
For both stick contour and eyeshadow contour, simply draw it on like a crayon or finger paint.
 Photo from Daily Mail UK
For Stick Contour: Colour the side of your nose up and down with the darker end, stop before the head. Then, trace the head of your nose like the first picture. Use the lighter end to colour the bridge
For Eyeshadow: Dab your finger to pick up the brown shadow and then, dab the sides of your nose starting from the top to the bottom. Use a white eyeshadow, concealer or even foundation as the highlighter and apply to the bridge of your nose.
Next, blend it out with your finger gently or with a brush. The most important part is the area where your nose meets your eyebrows. I blend it out by pressing both of my index finger on the sides of the nose and simply dab it down until it looks almost natural.
 Photo from wiki how
The key is this: Don't blend it until it is perfectly natural, stop when you can still see the brown line. It's a thin line of perfection.
Over time, you will master the right blending for picture and for going out.
3. Cream Contour Kit
You definitely need a brush for this. Even an eyeshadow brush or blending brush is good enough. This video explains it very well and start at 2:10 for fast learning.
 Photo from Shopee
Before Contour:
During:
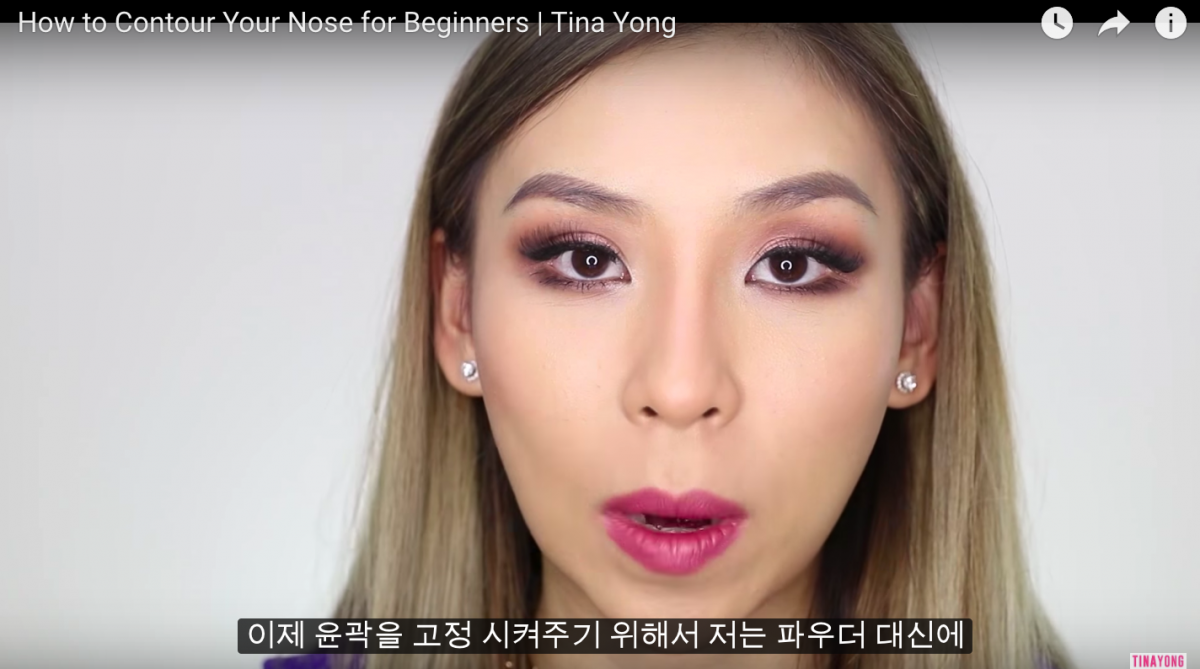 Photo from Youtube// Tina Young
After:
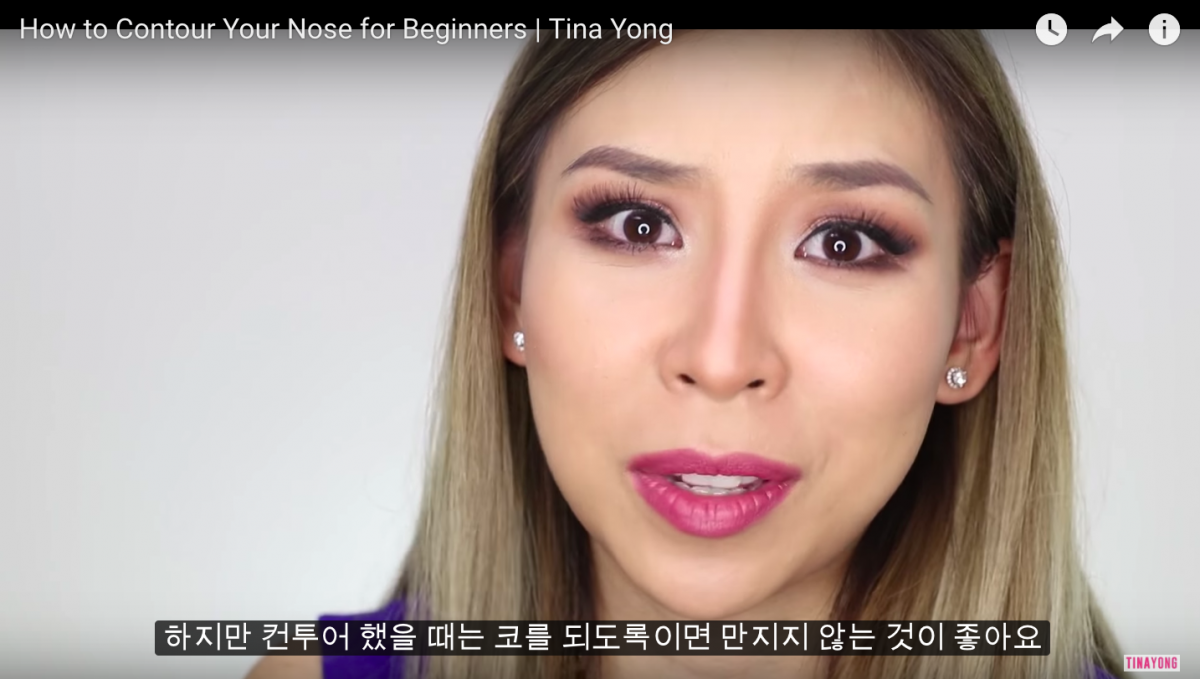 Photo from Youtube// Tina Young
Tina went on to layer more on her contour. Honestly, the end result is still too strong. Tone it down a little by blending it more because the last you want is for people to point out your contouring. You want them to think that you have a sharp nose, not a fake one.
Taking it a step further:
Experiment full face if you are feeling adventurous
 Photo from pinterest
In this beginner's guide, explore the right weapon to kick start contouring! Start with the nose and expand to your full face. Some people even contour their collarbone and boobs. Lastly, how do you know if you got it right? Your friends will ask you if you contour your face or point it out and say its too obvious. Then all you need to do it adjust and keep practising!
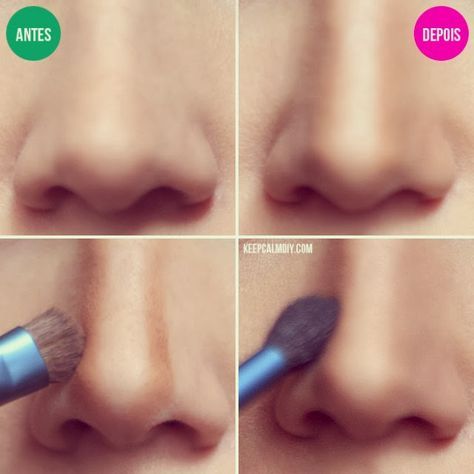 Photo from pinterest
Enjoy the fun of beauty and makeup!
Text by: Girlsdaily SG


