6 Simple Steps To Achieve Ombré Brows - A Natural & Versatile Look That's Suitable For Practically Anyone
Just as the ombré hair trend blew up when it first made its appearance, ombré brows are also having a similar moment, with it being arguably one of the most sought-after eyebrow looks these days. Created with a subtle gradient from a darker shade at the tail-end to a lighter shade in the middle of the face, ombré brows look super natural and suit just about anyone.
Ombré brow embroidery in Singapore
 Photo from @sleekbrowsg via Instagram
The easiest way to get ombré brows is to go for ombré eyebrow embroidery done by a professional brow technician, as they’ll take care of all the work and decide which colours and styles would look best on you. This is basically a form of semi-permanent eyebrow tattooing, and involves techniques such as microblading, shading, or a combination of both.
Most legit beauty salons in Singapore with eyebrow services offer ombré brow embroidery. Check out our list of 10 best eyebrow embroidery salons in Singapore if you’re unsure of where to go.
How to draw DIY ombré brows
 Photo from PressLogic
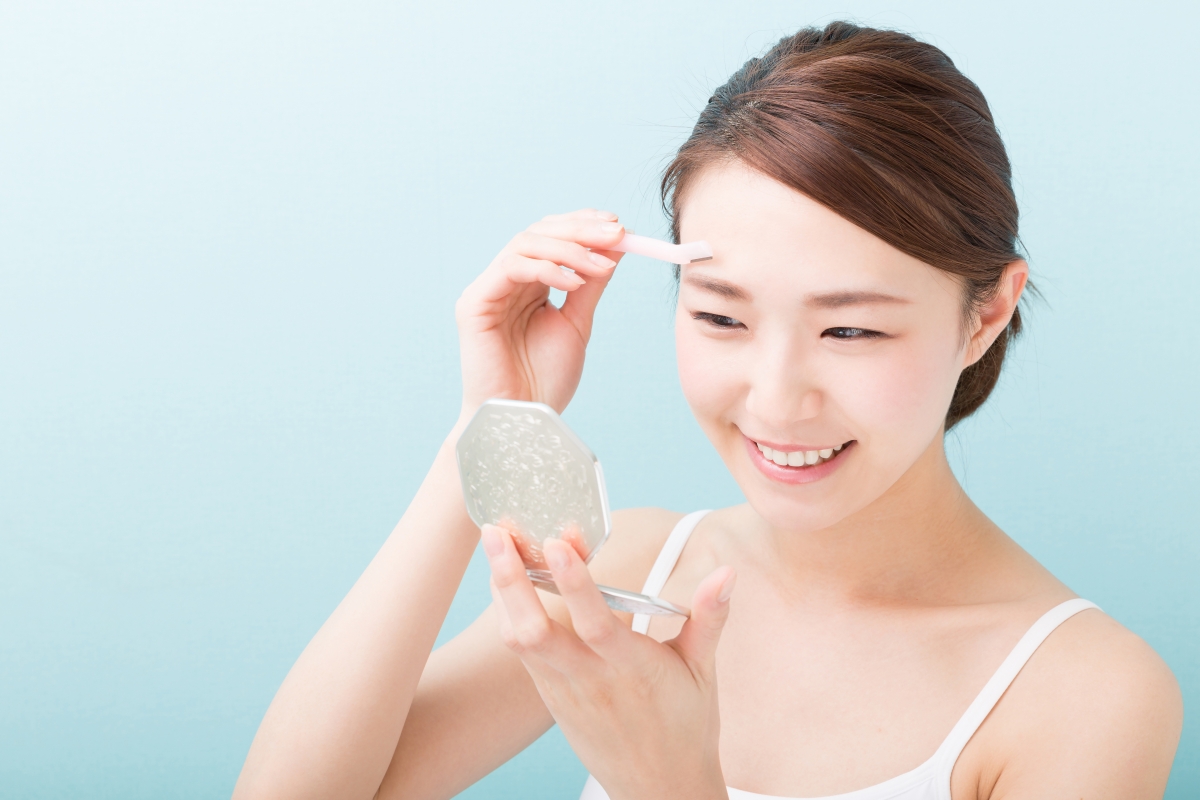
Another less high-commitment alternative to ombré eyebrow embroidery is to draw them in yourself. Here’s an easy guide on how you can DIY your own ombré brows in 6 steps for a natural-looking finish.
#1: Choose the right shades for yourself
Pick two or three shades of eyebrow pencil or powder that complement each other, while matching your skin tone and hair color. If you’ve got dark Asian hair, it’s safer to stick with dark brown tones, but if your hair is dyed lighter, feel free to move up a couple of shades.
The lighter shade should be used in the inner part of the brow, and the darker shade on the outer part. Avoid picking shades that are too far apart from each other - this is essential for achieving a subtle gradient.
Tip: Even if your natural hair colour is black, go for dark brown brow products instead of full-on black. This will help prevent an overly harsh look.
#2: Map out your brow shape
Before you start filling in your brows, use a brow pencil or powder to outline your desired shape. This will serve as a guide for where to apply the different shades of pigment.
Not sure how to get the right shape for your eyebrows? Check out our article on beginner-friendly eyebrow-shaping tips as a guide.
#3: Start with the lightest shade
Use a small angled brush to apply the lightest shade of pigment in short, feathery strokes to the inner part of your brow. Apply less pressure on this area, and focus on creating a soft, gradual transition from here to the other end for that subtle gradient.
#4: Add the darker shade
Use the same brush to apply the darker shade of pigment to the outer part of your brow, blending it in with the lighter shade. Remember to build up the color gradually to avoid any harsh lines.
Build up gradually: Build up the color gradually to avoid creating harsh lines. Start with a light color at the front of the brow and gradually darken the shade as you move towards the tail.
#5: Blend well to soften
Blending is crucial for creating a good ombré effect. Use a spoolie brush to blend out and soften the brow product creating a seamless gradient. If there are any areas that need more definition or color, use a smaller brush to add more pigment and blend it in accordingly.
#6: Finish with brow gel
Finish off by using your preferred brow gel to set your ombré brows in place. If you’re not a fan of the texture, you can use a clean brush to lightly dust some translucent powder over your brows to help set the pigment and prevent fading throughout the day.
More eyebrow-related content:
Stay on top of the latest beauty news and participate in exclusive giveaways by joining our Telegram channel now!


