

How To Do A Waterfall Braid : Step-By-Step Guide
Lockdown 3.0 has started from today and while you are at home we are pretty sure you must be trying out some new hairstyles. Do you ever look at a hairstyle tutorial and think " Well, that's pretty, but I am sure, I'd never be able to that."
One of the hairstyles, we are sure you'd have fallen for are waterfall braids and you would have thought the same. Well my beauties TBH, you are far away from the truth! This romantic and chic hairstyle is perfect for all the occasions - the flowing waterfall effect paired with loose curls is an amazing way to flaunt your long tresses in a flirty way.
If you wish to experiment with a new hairstyle then try this simple and romantic hairstyle. Here's a step-by-step tutorial on how to ace the waterfall braid.
You will need:
- hairpins
- brush or comb
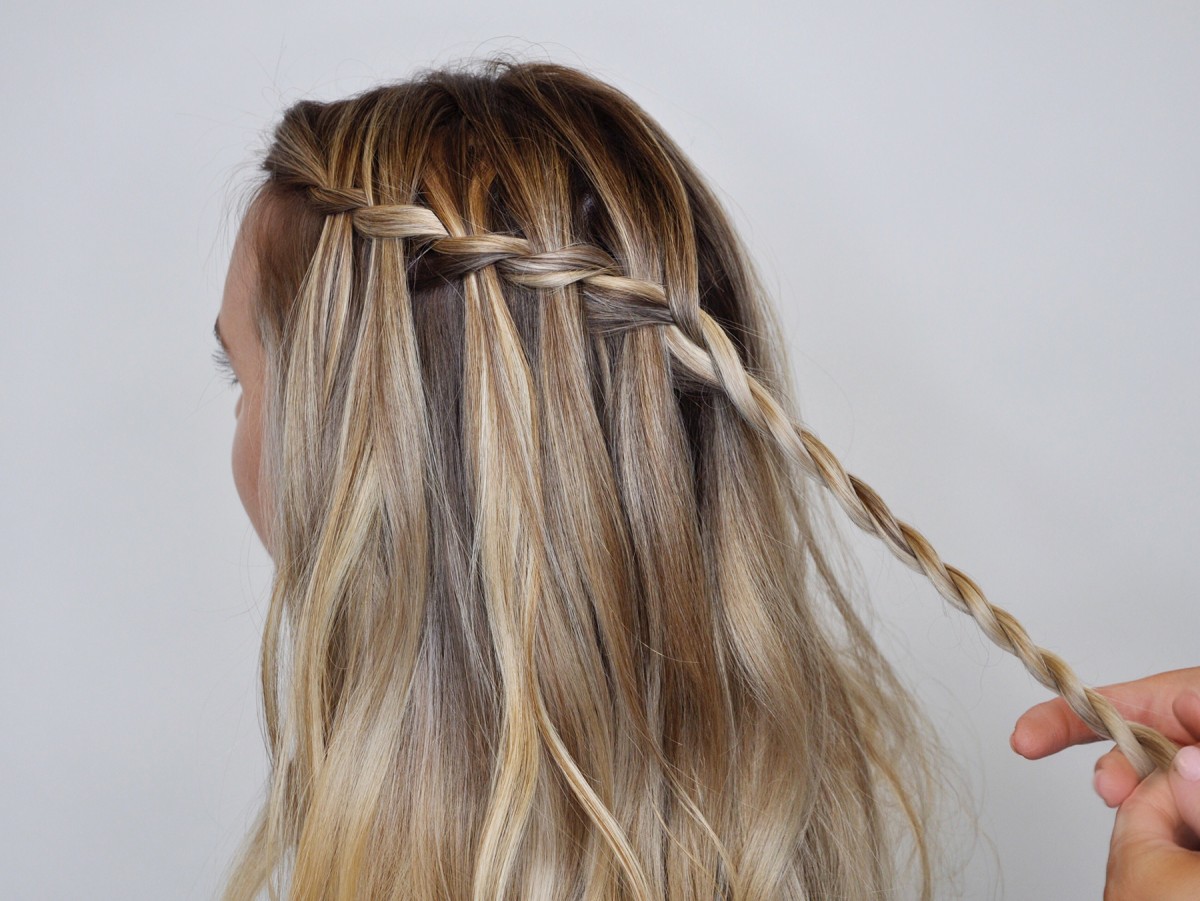 Photo from Real Simple
Step 1: Begin by taking a side parting of your hair
Step 2: Now, split the section into three halves. Take the right section over the middle & then take the left section over the middle.
Step 3: Using the right section, add some hair from the top into the middle section.
Step 4: Leave the left section as it is and add a little bit of hair right next to it from the bottom into the middle.
Step 5: Repeat the above steps till the back of your hair and then continue doing a 3-strand braid.
Step 6: Secure the braid with a hairpin and cover it up with some hair.
Step 7: If you want you can also add some hair accessories to embellish the braid.
And voila! Here you have it, the simple and perfect waterfall braid!
Feature Image: StyleCaster
Text By: GirlStyle IN
